

When I first started baking with fresh milled flour, I didn’t want artisan boules.
I wanted sandwich bread.
Soft. Sliceable. Toastable. Something my family would actually eat without commentary.
After quite a bit of experimenting (and a few dense loaves), this is the recipe I wish I had started with.
It’s simple.
It’s forgiving.
And it works.
Why This Recipe Is Good for Beginners
This loaf:
- Uses 100% fresh milled flour
- Has enough hydration to prevent density
- Includes a rest period (which makes a big difference)
- Produces a soft, everyday sandwich texture
If you’re brand new, start here.
Ingredients (Makes 2 Loaves)
- 6 cups (about 720g) fresh milled hard white wheat flour
- 2 ½ cups warm water (start here; may need slightly more)
- ¼ cup honey
- ¼ cup melted butter or olive oil
- 1 tablespoon salt
- 1 tablespoon instant yeast
Step 1: Mill Your Flour

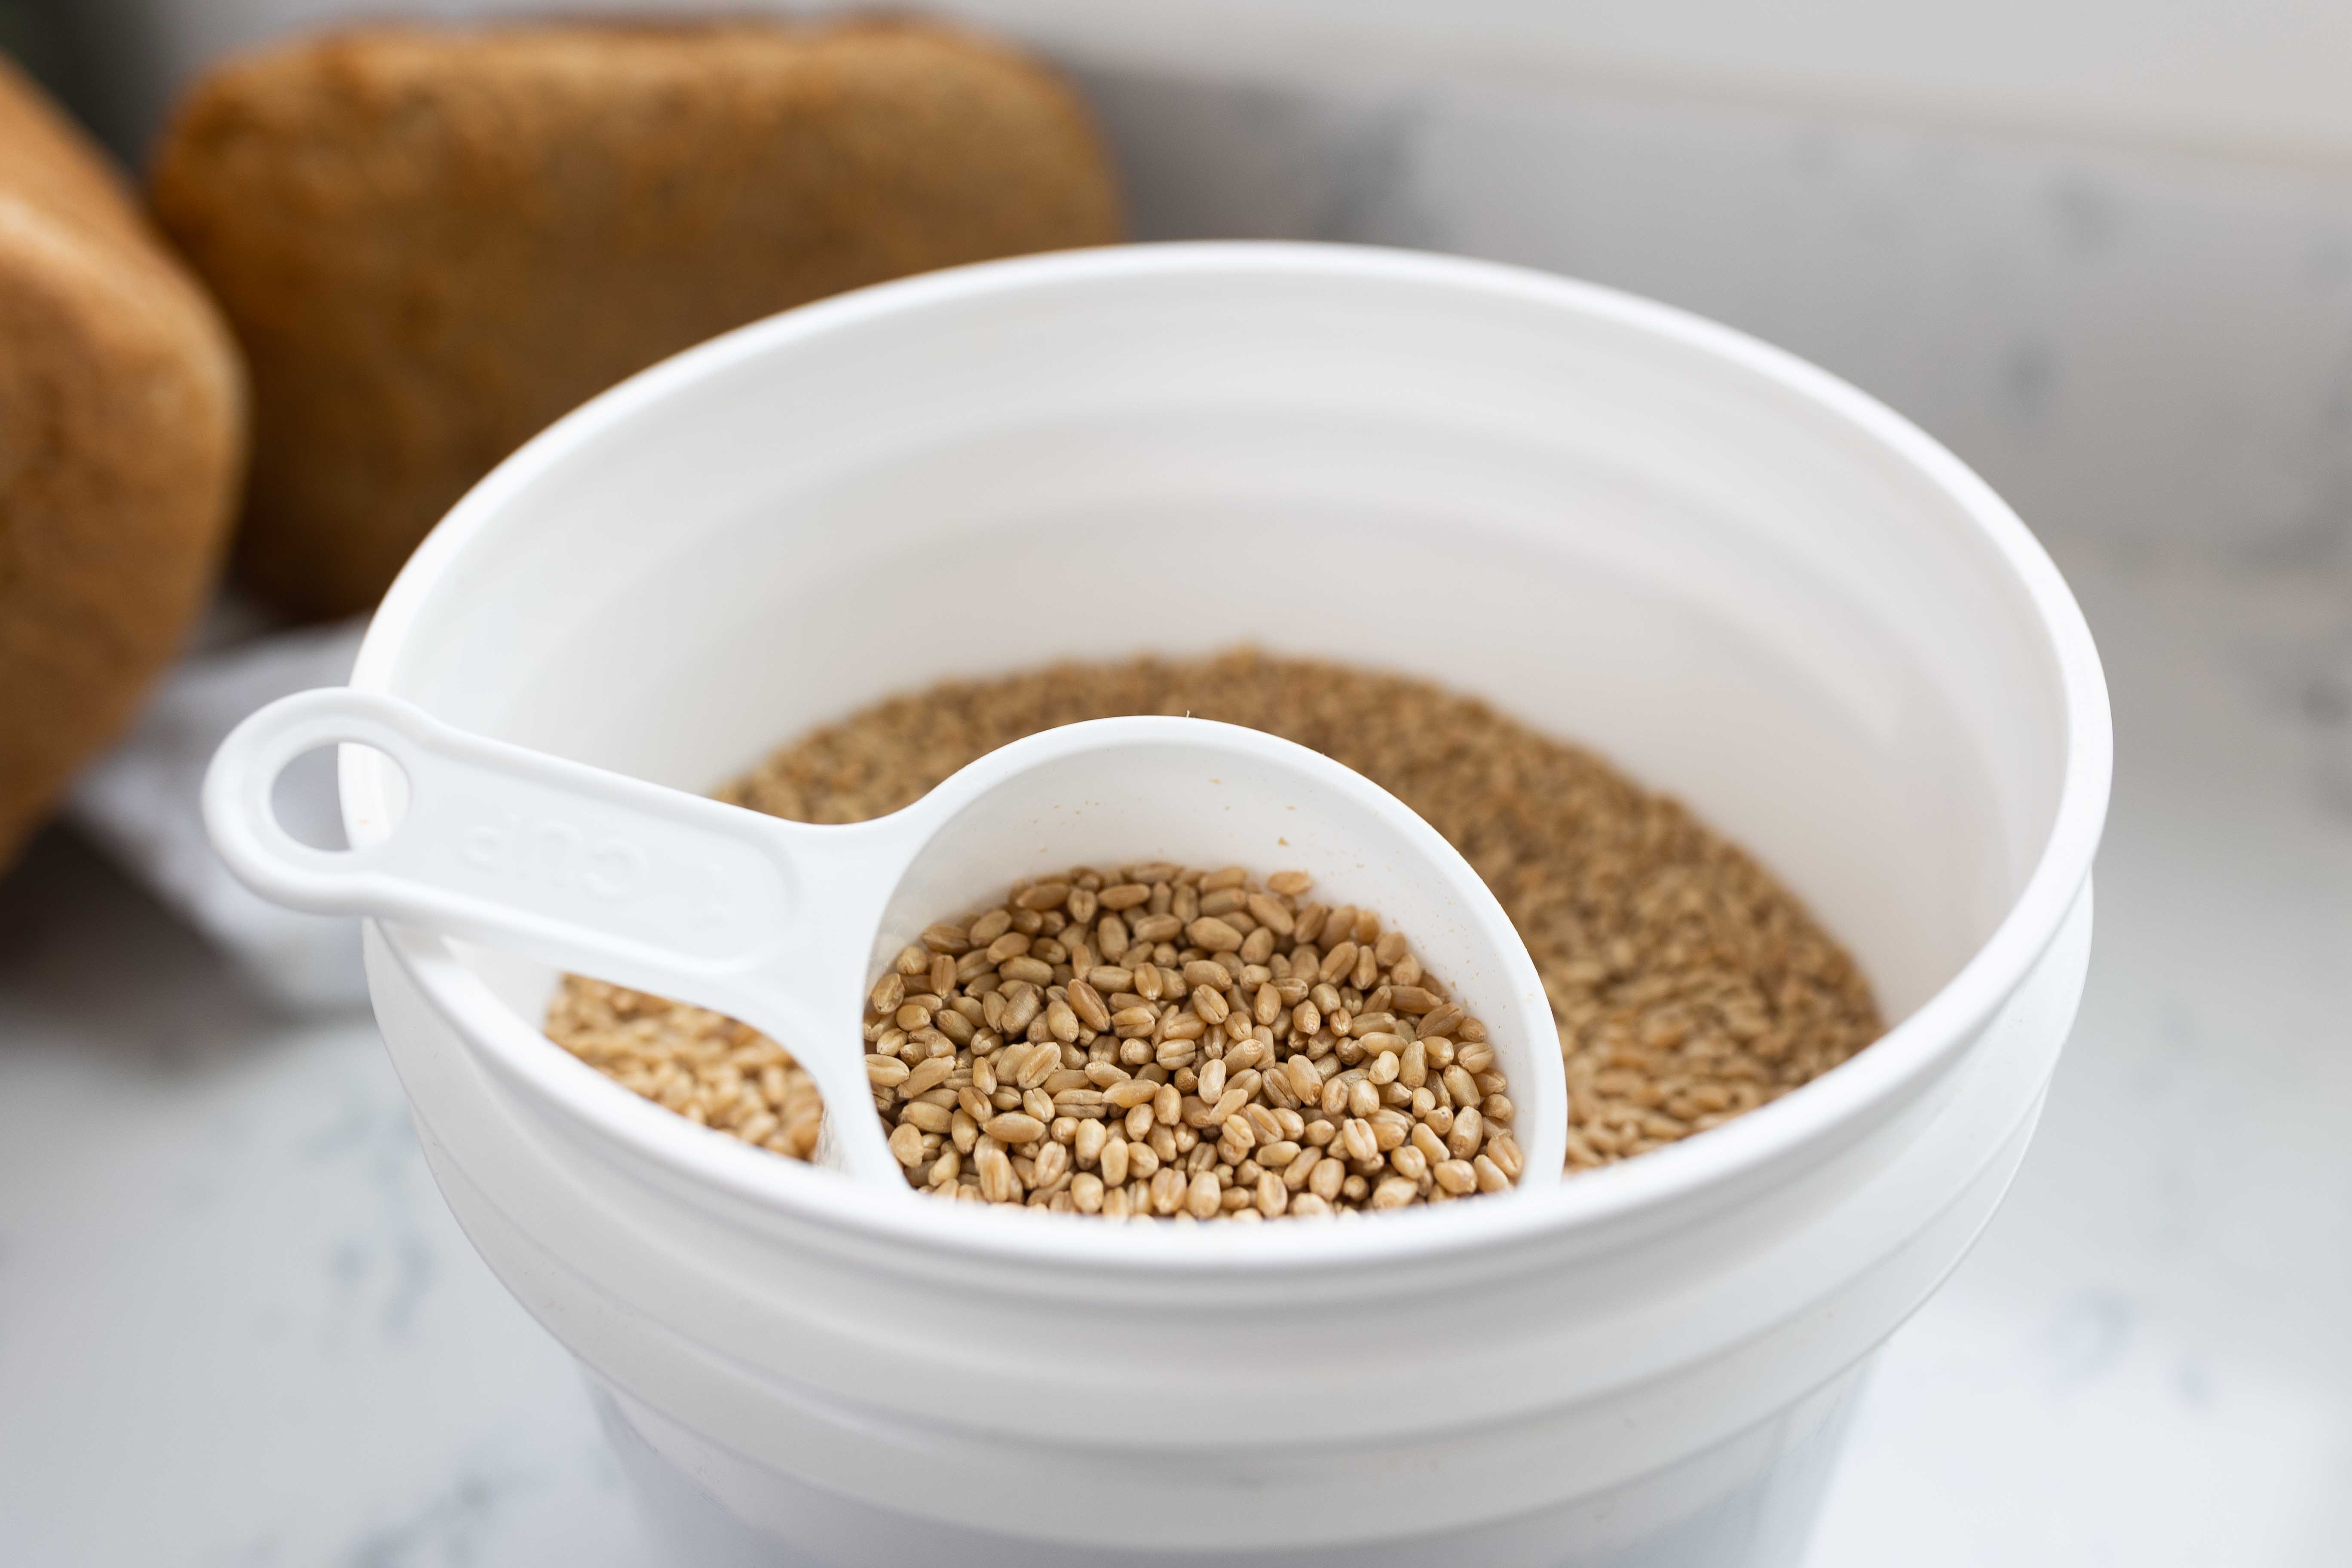
Mill your flour on the finest setting. I mill mine right on the counter while I’m already in baking mode — often with a curious cat nearby wondering if wheat berries are, in fact, a new toy.
For this recipe, I recommend hard white wheat because:
- It has a milder flavor
- It produces softer sandwich bread
- It’s usually more beginner-friendly
Step 2: Mix & Rest (Don’t Skip This)
In a large bowl or stand mixer:
- Combine flour and warm water.
- Mix just until combined.
- Let it rest for 15–20 minutes.
This rest allows the bran to soften and the flour to fully hydrate.
This one step prevents so much frustration.
Step 3: Add Remaining Ingredients
After resting, add:
- Honey
- Butter or oil
- Salt
- Yeast
Mix until a shaggy dough forms.
Step 4: Knead Properly
Knead for 8–12 minutes (stand mixer) or about 12–15 minutes by hand.
You’re looking for:
- Smooth texture
- Slight tackiness (not dry, not sticky glue)
- Dough that stretches without tearing
If it feels stiff, add a tablespoon of water at a time.
Fresh milled flour is thirsty. Don’t be afraid of hydration.
Step 5: First Rise
Place dough in a lightly greased bowl.
Cover and let rise 60–90 minutes, or until doubled.
Step 6: Shape & Second Rise
Divide into two equal portions.
Shape into loaves and place in two greased 9×5-inch loaf pans. (If using smaller 8.5×4.5-inch pans, fill slightly less full and expect a few extra minutes of bake time.)
Let rise again until the dough crowns about 1 inch above the pan.
This may take 30–60 minutes depending on your kitchen.
Step 7: Bake
Bake at 350°F for 25–30 minutes.
The tops should be golden brown.
Internal temperature should reach about 190–200°F if you use a thermometer.
Remove from pans immediately and cool on a rack.
Resist cutting too soon (I know).
What to Expect
This bread will be:
- Soft
- Slightly hearty
- Mild in flavor
- Perfect for sandwiches and toast
It will not be identical to store-bought white bread.
But it will be nourishing, filling, and deeply satisfying.
Common Beginner Adjustments
If your loaf is dense:
- Add more hydration next time
- Knead longer
- Let it rise fully
If it spreads instead of rising:
- Dough may be too wet
- Try slightly less water
You are learning a new skill.
Give yourself a few loaves.
Encouragement for the First Loaf
Your first loaf might not be perfect.
That’s okay.
The beauty of fresh milled flour isn’t perfection — it’s nourishment, tradition, and learning something meaningful.
Start here.
Bake this recipe a few times.
Then experiment.
You don’t have to master everything at once.
